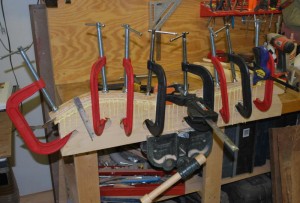
Due to the length of time required to glue up the backslats and the rockers, the creation of these pieces is actually the first step in preparing the blanks. The backslats and rockers are formed by shaping them on a gluing form. Once each lamination is coated in glue and placed in the form, it is clamped tightly and then set aside for 24 hours to guarantee that the glue is set and that the blanks won’t lose their shape. Here you can see two backslat blanks being clamped in the the backslat form. Note the glue running out from the stack of laminations. It is imperative to use enough glue to prevent any glueless voids in the laminations.
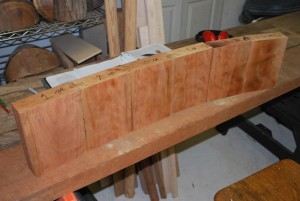
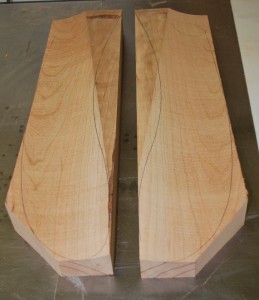
Here you can see the layout for the pieces that make up the headrest. These pieces must be from the same board to guarantee grain and color matching. The pieces will be coopered and glued to provide the curved headrest required for the finished chair.
Notice the matching figure in the two back legs. If the wood in these two pieces don’t match it becomes very evident in the finished product as these two pieces create a visual frame around the backslats.
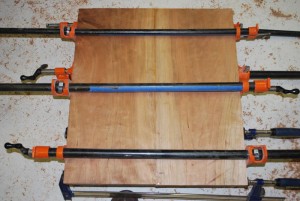
Here I was lucky enough to have a wide enough board to build the seat blank with only one glue joint. It is vital to match the grain in such a visible joint. Done correctly, the glue joint virtually disappears in the finished product. If the joint is not aligned properly, it will standout and be the first thing everyone sees when they look at the chair. I make every effort to make sure that when someone is looking at the chair, they see the chair as a whole and are not distracted by mismatched grain, or anything visually jarring.
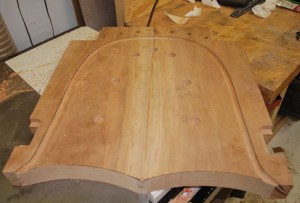
Once glued up, the seat becomes the center point of the chair construction. Here you can see the chair seat cut roughly to shape with the leg joint tenons already cut. The inverted “U” groove is the guide for scooping out the seat. While the groove is made with a template and router, the actual grinding out of the seat is still done by hand.
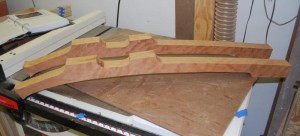
It is also very important to try and match the grain patterns in the arm blanks. If you look closely at the picture below, you will notice the matching grain with the lighter sapwood running down the inside of each arm. This picture was taken after the arm blanks had already been roughly shaped on the table saw.
After all the blanks have been cut out, it is time to begin the assembly.
Continue to Construction

